
Make the Most of Your Harvest
One of the easiest ways to deal with a glut of home-grown vegetables and fruit is simply to freeze it. With a little preparation, you can preserve much of the harvest at its best and have a supply of your own produce ready to use throughout the year.
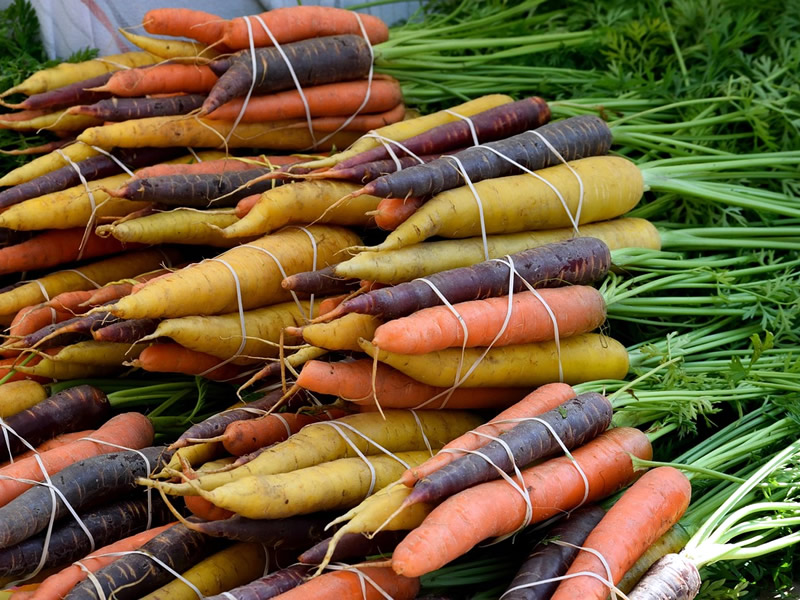
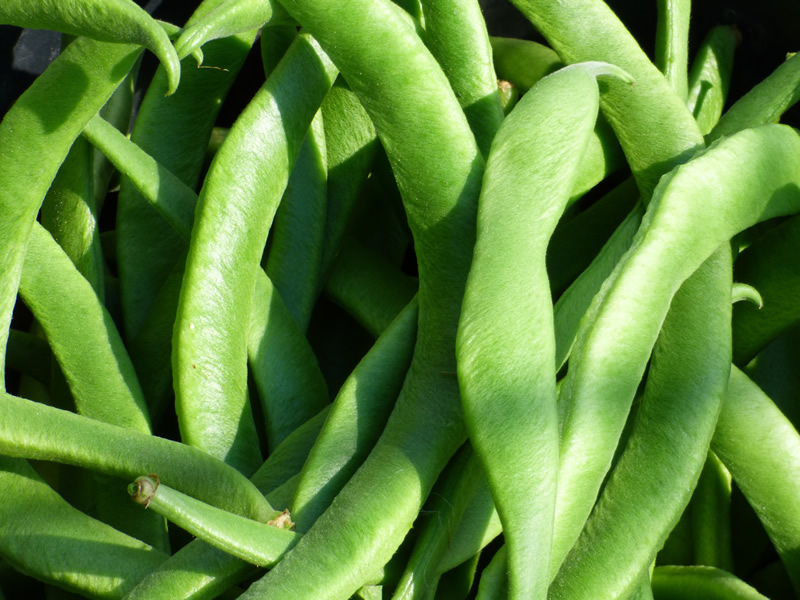
Freezing is particularly useful when the garden suddenly produces more than you can eat. Runner beans, peas, carrots, courgettes and many other crops can all arrive at once, leaving you wondering what to do with them before they become past their best.
For most vegetables, there is one important step before they go into the freezer: blanching.
What is Blanching?
Blanching simply means briefly cooking vegetables in boiling water, followed by rapidly cooling them in very cold water. For best results it is recommended you add ice to the container of water you intend to cool the vegetables in. The reason being that, in doing so, and cooling the vegetables rapidly, you are preventing them from continuing to cook any further.
It might seem like an unnecessary extra step when you're trying to get your harvest into the freezer, but it serves an important purpose. Blanching slows the natural enzymes that continue to act within vegetables after they have been harvested. This helps preserve their colour, flavour, texture and nutritional quality during frozen storage.
The aim isn't to cook the vegetables through. They should only be blanched for the recommended time before being cooled quickly and frozen.
The blanching time varies considerably between vegetables. Smaller or more delicate vegetables may need only a short time in boiling water, while larger or denser vegetables require longer. Use our quick-reference guide below for the most common crops.
How to Blanch and Freeze Vegetables
The basic method is straightforward, but preparation is important. Have everything ready before you begin, as you'll need to move the vegetables quickly from boiling water to cold water.
- Prepare your vegetables. Wash them thoroughly and remove any stalks, ends, damaged pieces or tough outer leaves. Cut larger vegetables into suitably sized pieces.
- Bring a large pan of water to a rolling boil. Use plenty of water so that it returns to the boil quickly when the vegetables are added.
- Blanch the vegetables. Add a manageable quantity to the boiling water and start timing immediately. Follow the recommended time for the particular vegetable.
- Cool immediately. Remove the vegetables and plunge them straight into a bowl of very cold water, preferably with ice added. This stops the cooking process.
- Drain thoroughly. Excess water will turn to ice in the freezer, so allow the vegetables to drain well and pat them dry where practical.
- Freeze in suitable portions. Pack into freezer bags or containers, removing as much excess air as possible before sealing.
- Label everything. Include the contents and date so you know what you have and when it was frozen.
Don't try to blanch the entire harvest in one go. Working in smaller batches makes it much easier to maintain a proper boil and, more importantly, to cool the vegetables quickly afterwards. It may take a little longer, but you'll get a better result.
Vegetable Blanching Times
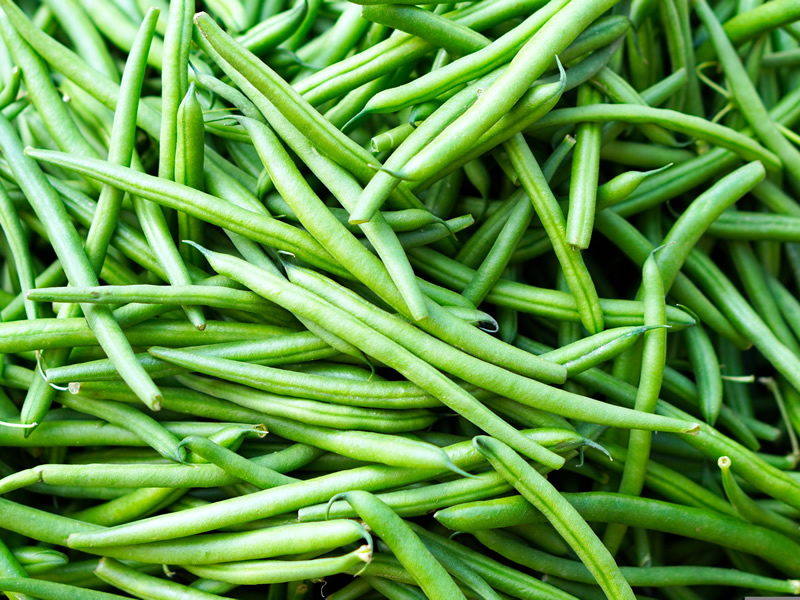
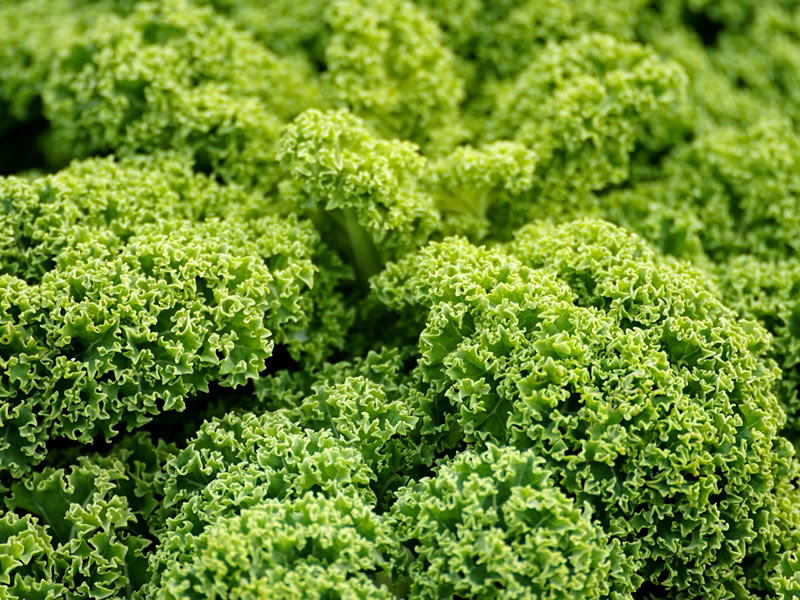
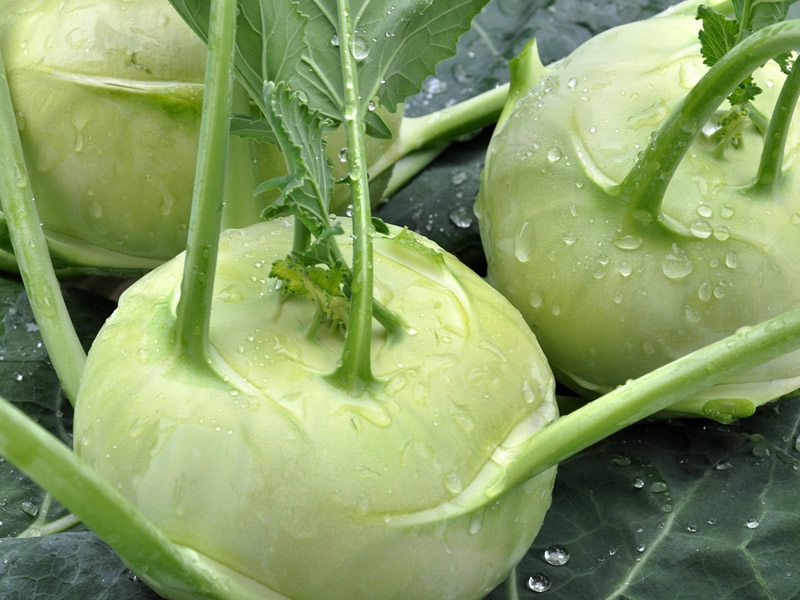
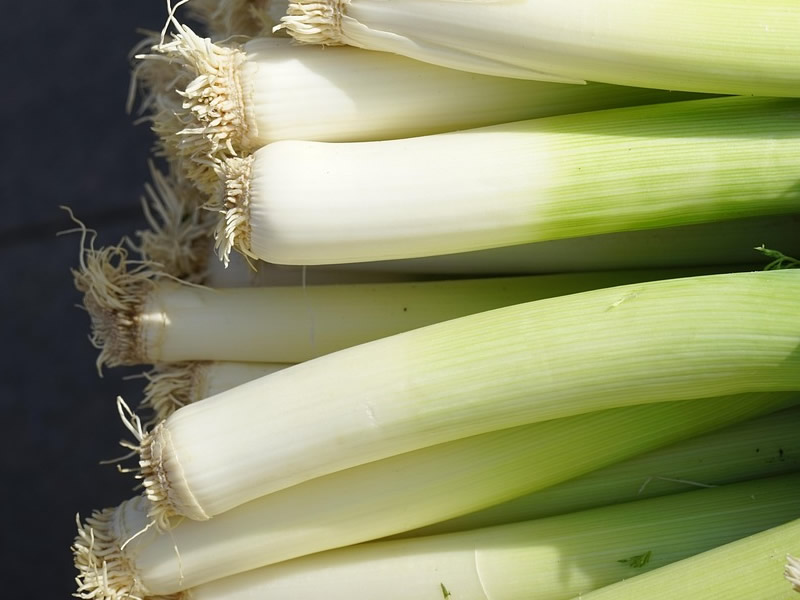
Below we have compiled a visual list of vegetables for which blanching and freezing is most suitable (Hover over each card to enlarge):
Add 1 tbsp lemon juice
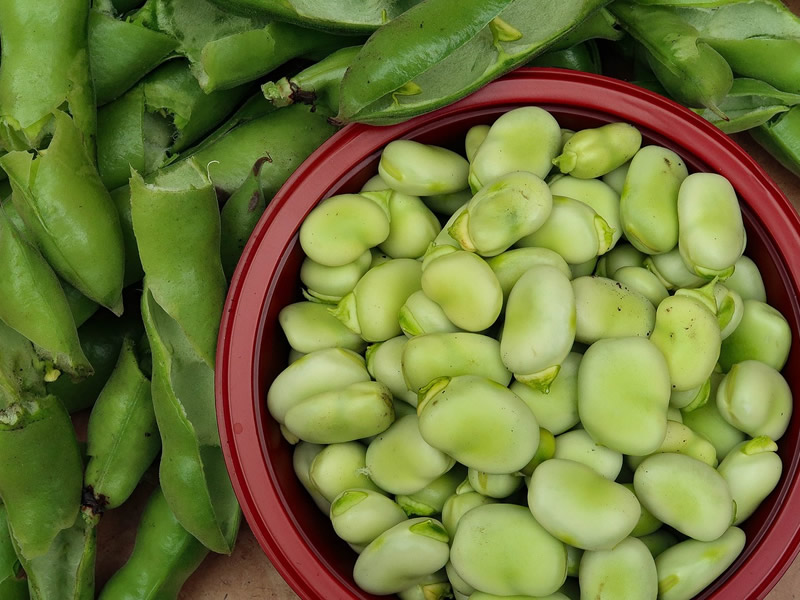
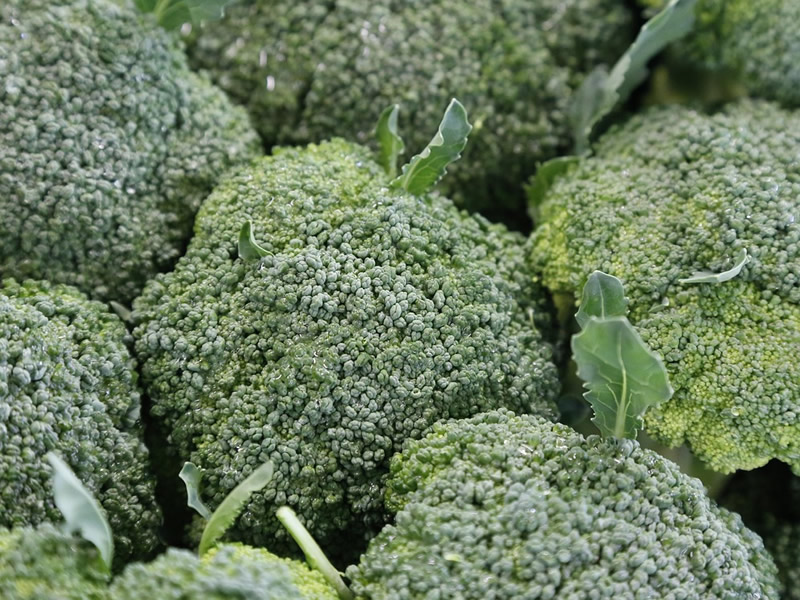
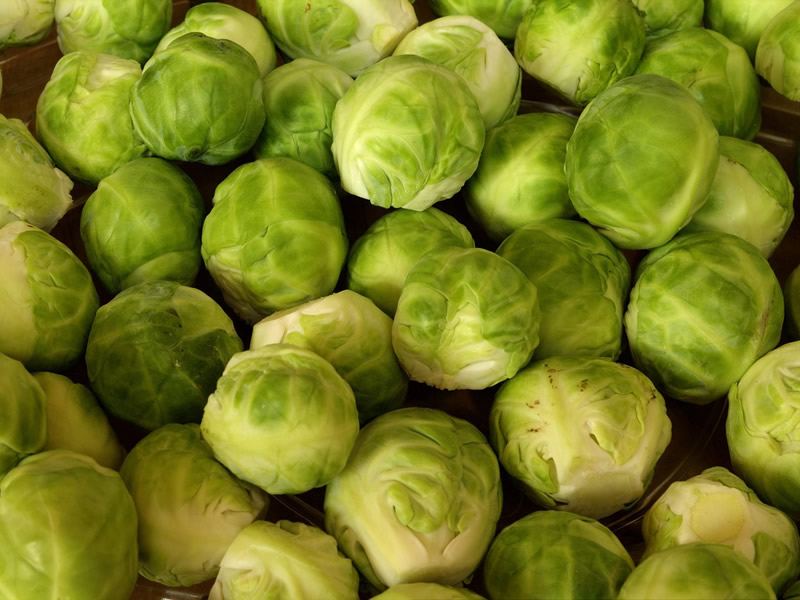
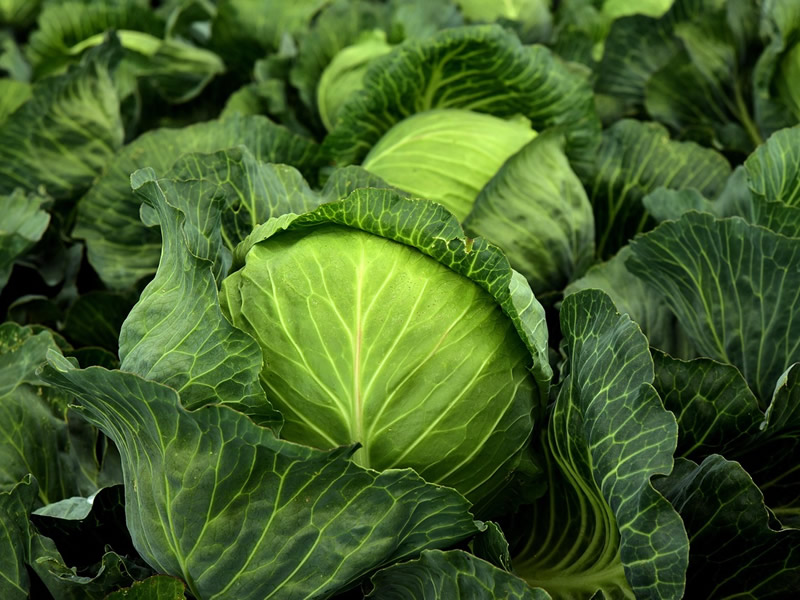
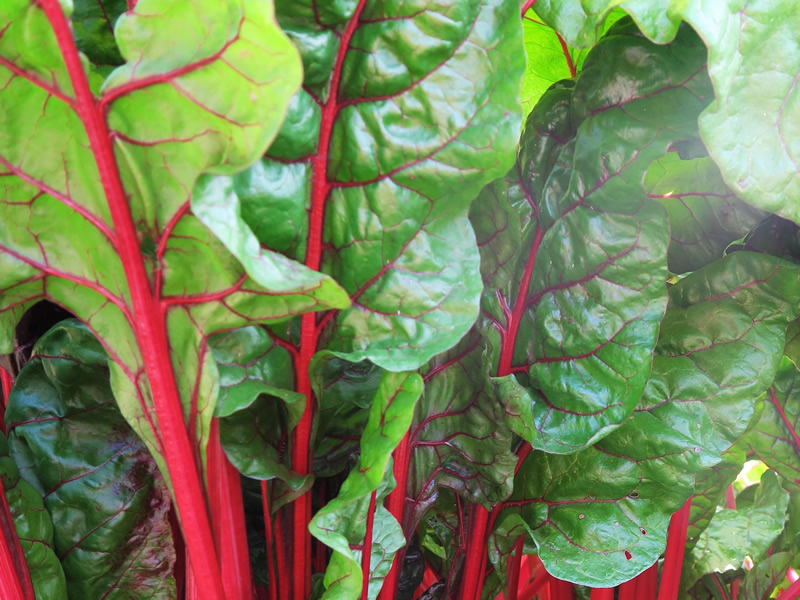
Leaves: 1 Minute Separate leaves and stalks
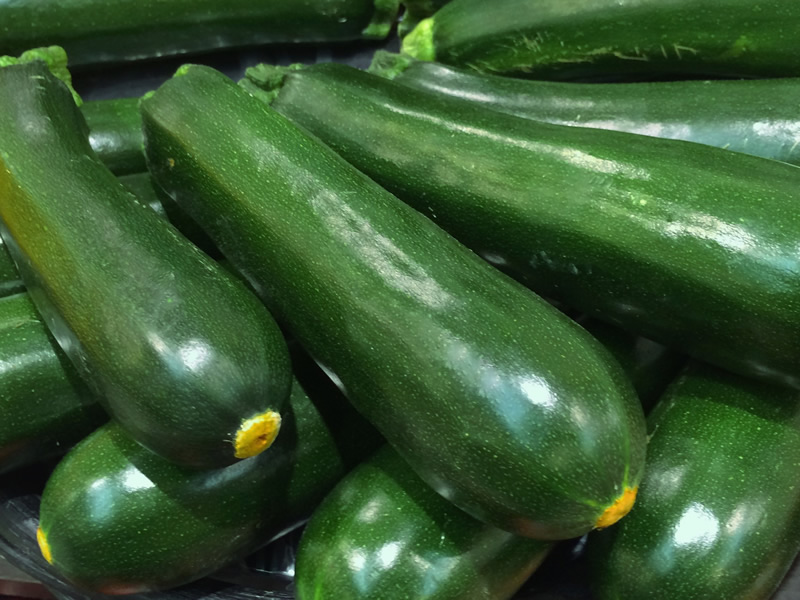
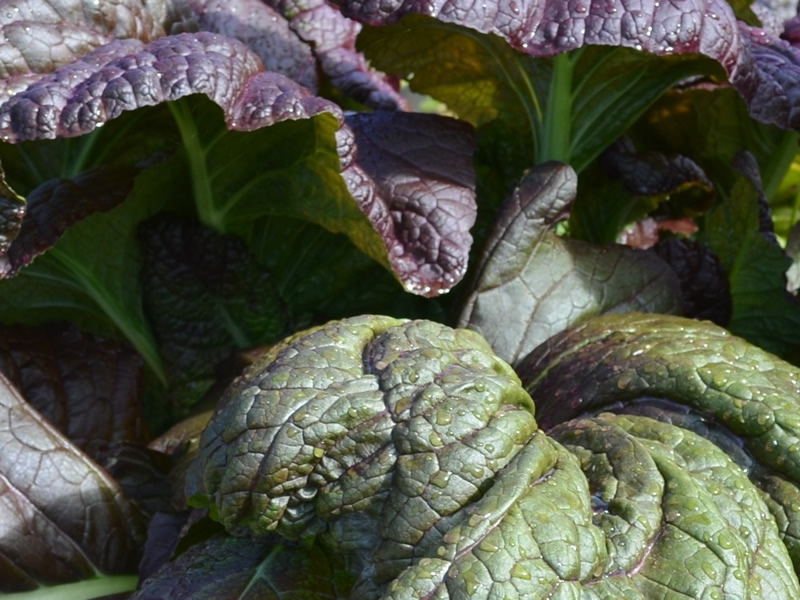
Remove any thick stems
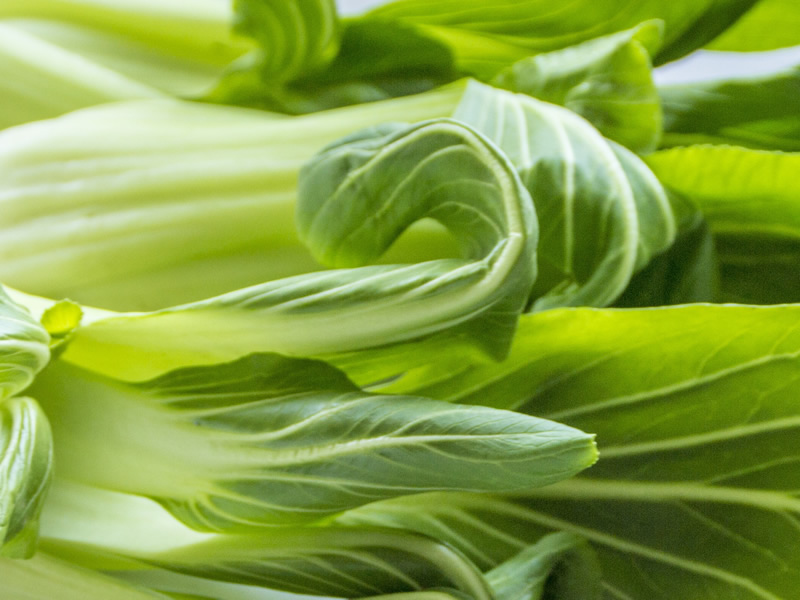
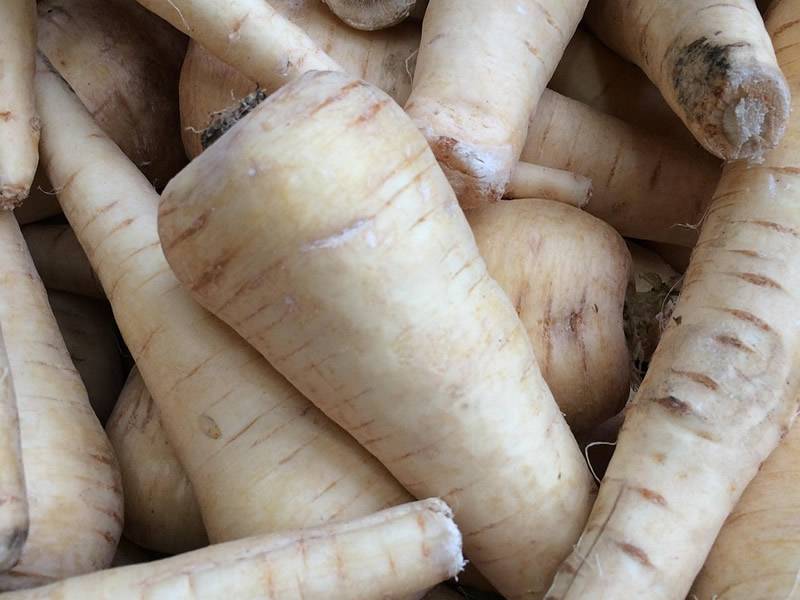
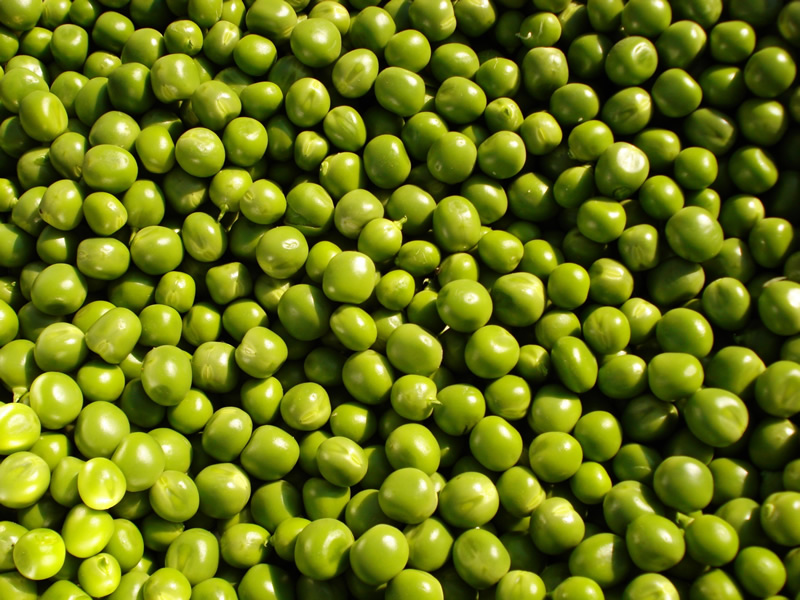
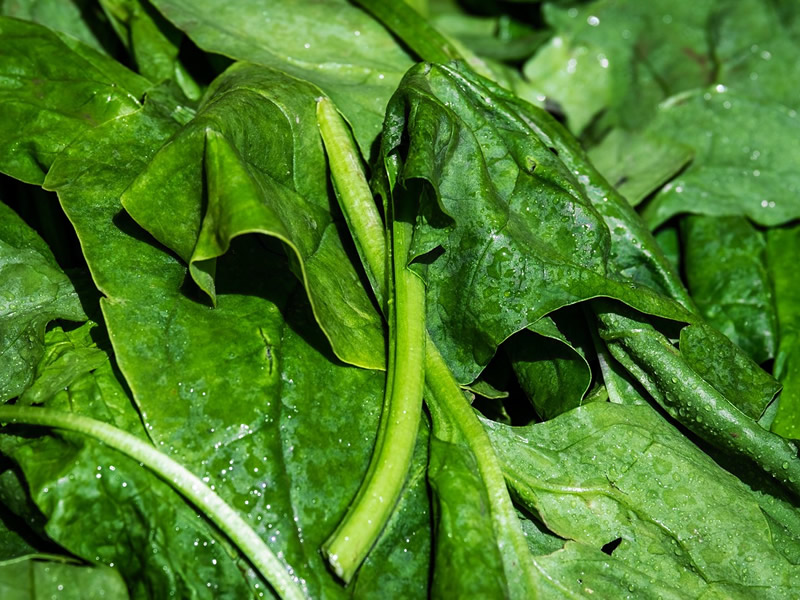
Once cooled you can
squeeze out excess water
Freezing Fruit
Fruit is generally simpler to freeze than vegetables because most fruit does not require blanching. However, a little preparation can help preserve its appearance and make it easier to use later.
As with vegetables, start with fruit that is fresh and in good condition. Freezing won't improve over-ripe or damaged fruit, so use the best of your harvest for the freezer and deal with any bruised or damaged pieces separately.
Strawberries
Remove the leaves and stalks, wash the fruit and allow it to dry thoroughly. Small strawberries can be frozen whole, while larger ones can be halved or sliced.
For berries that you want to remain separate rather than freezing into one large block, spread them in a single layer on a tray and freeze until solid before transferring them to a freezer bag or container.
Raspberries & Blackberries
Handle these delicate fruits carefully and remove any damaged or over-ripe berries. If necessary, rinse them gently and allow them to dry completely.
As with strawberries, freezing them in a single layer first makes it much easier to take out individual portions later.
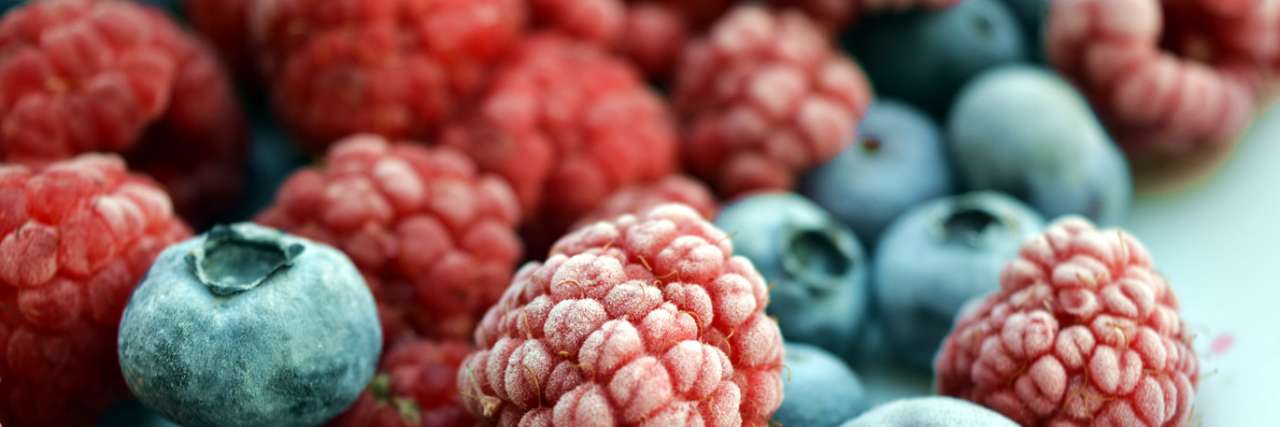
Berries are particularly suited to freezing, but if you want to keep them separated, it is best to use the 'tray freezing' method to prevent them sticking together in one mass.
Gooseberries
Top and tail the berries, wash them and dry thoroughly. They can be frozen whole, either directly in freezer bags or containers or spread on a tray first if you want them to remain separate.
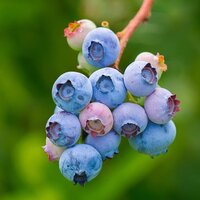
Blackcurrants, Redcurrants & Blueberries
Remove the berries from their stems, discard any damaged fruit and wash and dry them thoroughly before freezing.
Currants & blueberries freeze particularly well and can be frozen loose on a tray before being transferred to containers for longer-term storage.
Apples and Pears
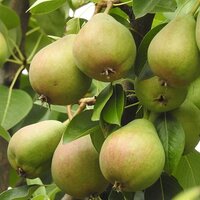
Apples and pears can be frozen, although they are generally better suited to cooking after freezing rather than eating raw.
Peel, core and slice the fruit, then toss it with a little lemon juice to help reduce browning. Freeze in portions suitable for pies, crumbles, sauces or other cooking.
Plums
Wash, halve and remove the stones. Plums can be frozen whole or in halves, although halving them first makes them much easier to use later.
They are particularly useful for cooking, baking and making sauces once thawed.
Preventing Fruit from Sticking Together
If you're freezing small fruits such as berries, the easiest way to prevent them from becoming one solid mass is to freeze them individually first.
Spread the prepared fruit across a baking tray in a single layer, making sure the pieces aren't touching too much. Freeze until firm, then transfer them into labelled freezer bags or containers.
This is known as tray freezing and means you can remove just the amount you need rather than having to defrost the entire harvest.
Frozen fruit doesn't always retain exactly the same texture as fresh fruit once thawed. Softer fruits can become slightly mushy, but they are still excellent for smoothies, baking, desserts, sauces, jams and compotes.
Freezing Courgettes, Chillies and Tomotoes: Three Special Cases
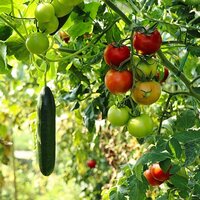
Courgettes deserve a mention because they are one of the crops most likely to produce a genuine glut!
Because they contain so much water, courgettes can become soft after freezing. They are therefore generally better frozen for use in soups, stews, sauces and baking rather than dishes where you want them to retain their fresh texture.
Slice or grate them, blanch briefly if appropriate (see above), cool and drain thoroughly before freezing in useful portions.
Chillies are an easy one as they can simply be frozen whole without the need for blanching at all and will last in the freezer for 6 months. Freeze them in the same way you would for most berries if possible, using the tray method described above - this just ensures they remain separated and don't freeze into a big clump. When they defrost though, they will be soft and are most suited to adding to sauces and cooked meals rather than using in the likes of salads.
Tomatoes also don't need blanching. Cherry tomatoes can be frozen whole but tomatoes generally are most suited to being prepared as a sauce first - perfect for pasta dishes into autumn and winter:
- Simply throw your tomatoes (chopped if they are larger varieties) in a suitable baking tray, toss them in olive oil and a bit of salt (optional).
- Roast at 180°C for 30-40 minutes. Remove from the oven and allow to cool.
- You can then blend them to a smooth sauce or just mash them a little if you want them to retain some form. T
- Transfer them to a suitable container for freezing (like a take-away tub).
- Whether they are cherry tomatoes frozen whole, or a prepared sauce of any kind of tomato, these will store for 12 months in the freezer.
If you are making a smooth tomato sauce for freezing and you also have a glut of courgettes, you may consider doing what I often do, which is to chop up a courgette and add it to the mix with the tomatoes before roasting. When you later blend this, it makes for a much creamier sauce without taking away any of that rich tomato flavour.
Remember
- Freeze produce while it is fresh and at its best.
- Most vegetables benefit from blanching before freezing.
- Cool blanched vegetables quickly to stop the cooking process.
- Remove as much excess water as possible before freezing.
- Freeze fruit in individual pieces first if you want to use it in small portions.
- Label and date everything – especially when the freezer starts filling up!
A Little Work Now Means More of Your Harvest Later
Freezing won't preserve every crop in exactly the same way, but for many home-grown vegetables and fruits it is one of the simplest ways to extend the life of your harvest.
It also means that a glut doesn't have to become a race against time. A few hours spent preparing and freezing produce while it is fresh can give you months of your own garden produce to enjoy later in the year.
So when the beans keep coming, the courgettes seem to double in size overnight or the freezer berries are starting to pile up, don't despair – you're not dealing with a problem, you're harvesting abundance!
For more information on growing your own fruit and vegetables you may also find our 'Grow Your Own A-Z' useful.
Make the Most of Your Grow Your Own Garden
From seeds and vegetable plants to compost, pots and growing supplies, we have everything you need to get the most from your garden throughout the growing season.